I completed the Get Started in Animation programme with the Prince’s Trust. Led by Abel Reverter Valeiras and Katie Menzies we were taught the skills necessary for creating 3D characters and 2D frame by frame Animation.

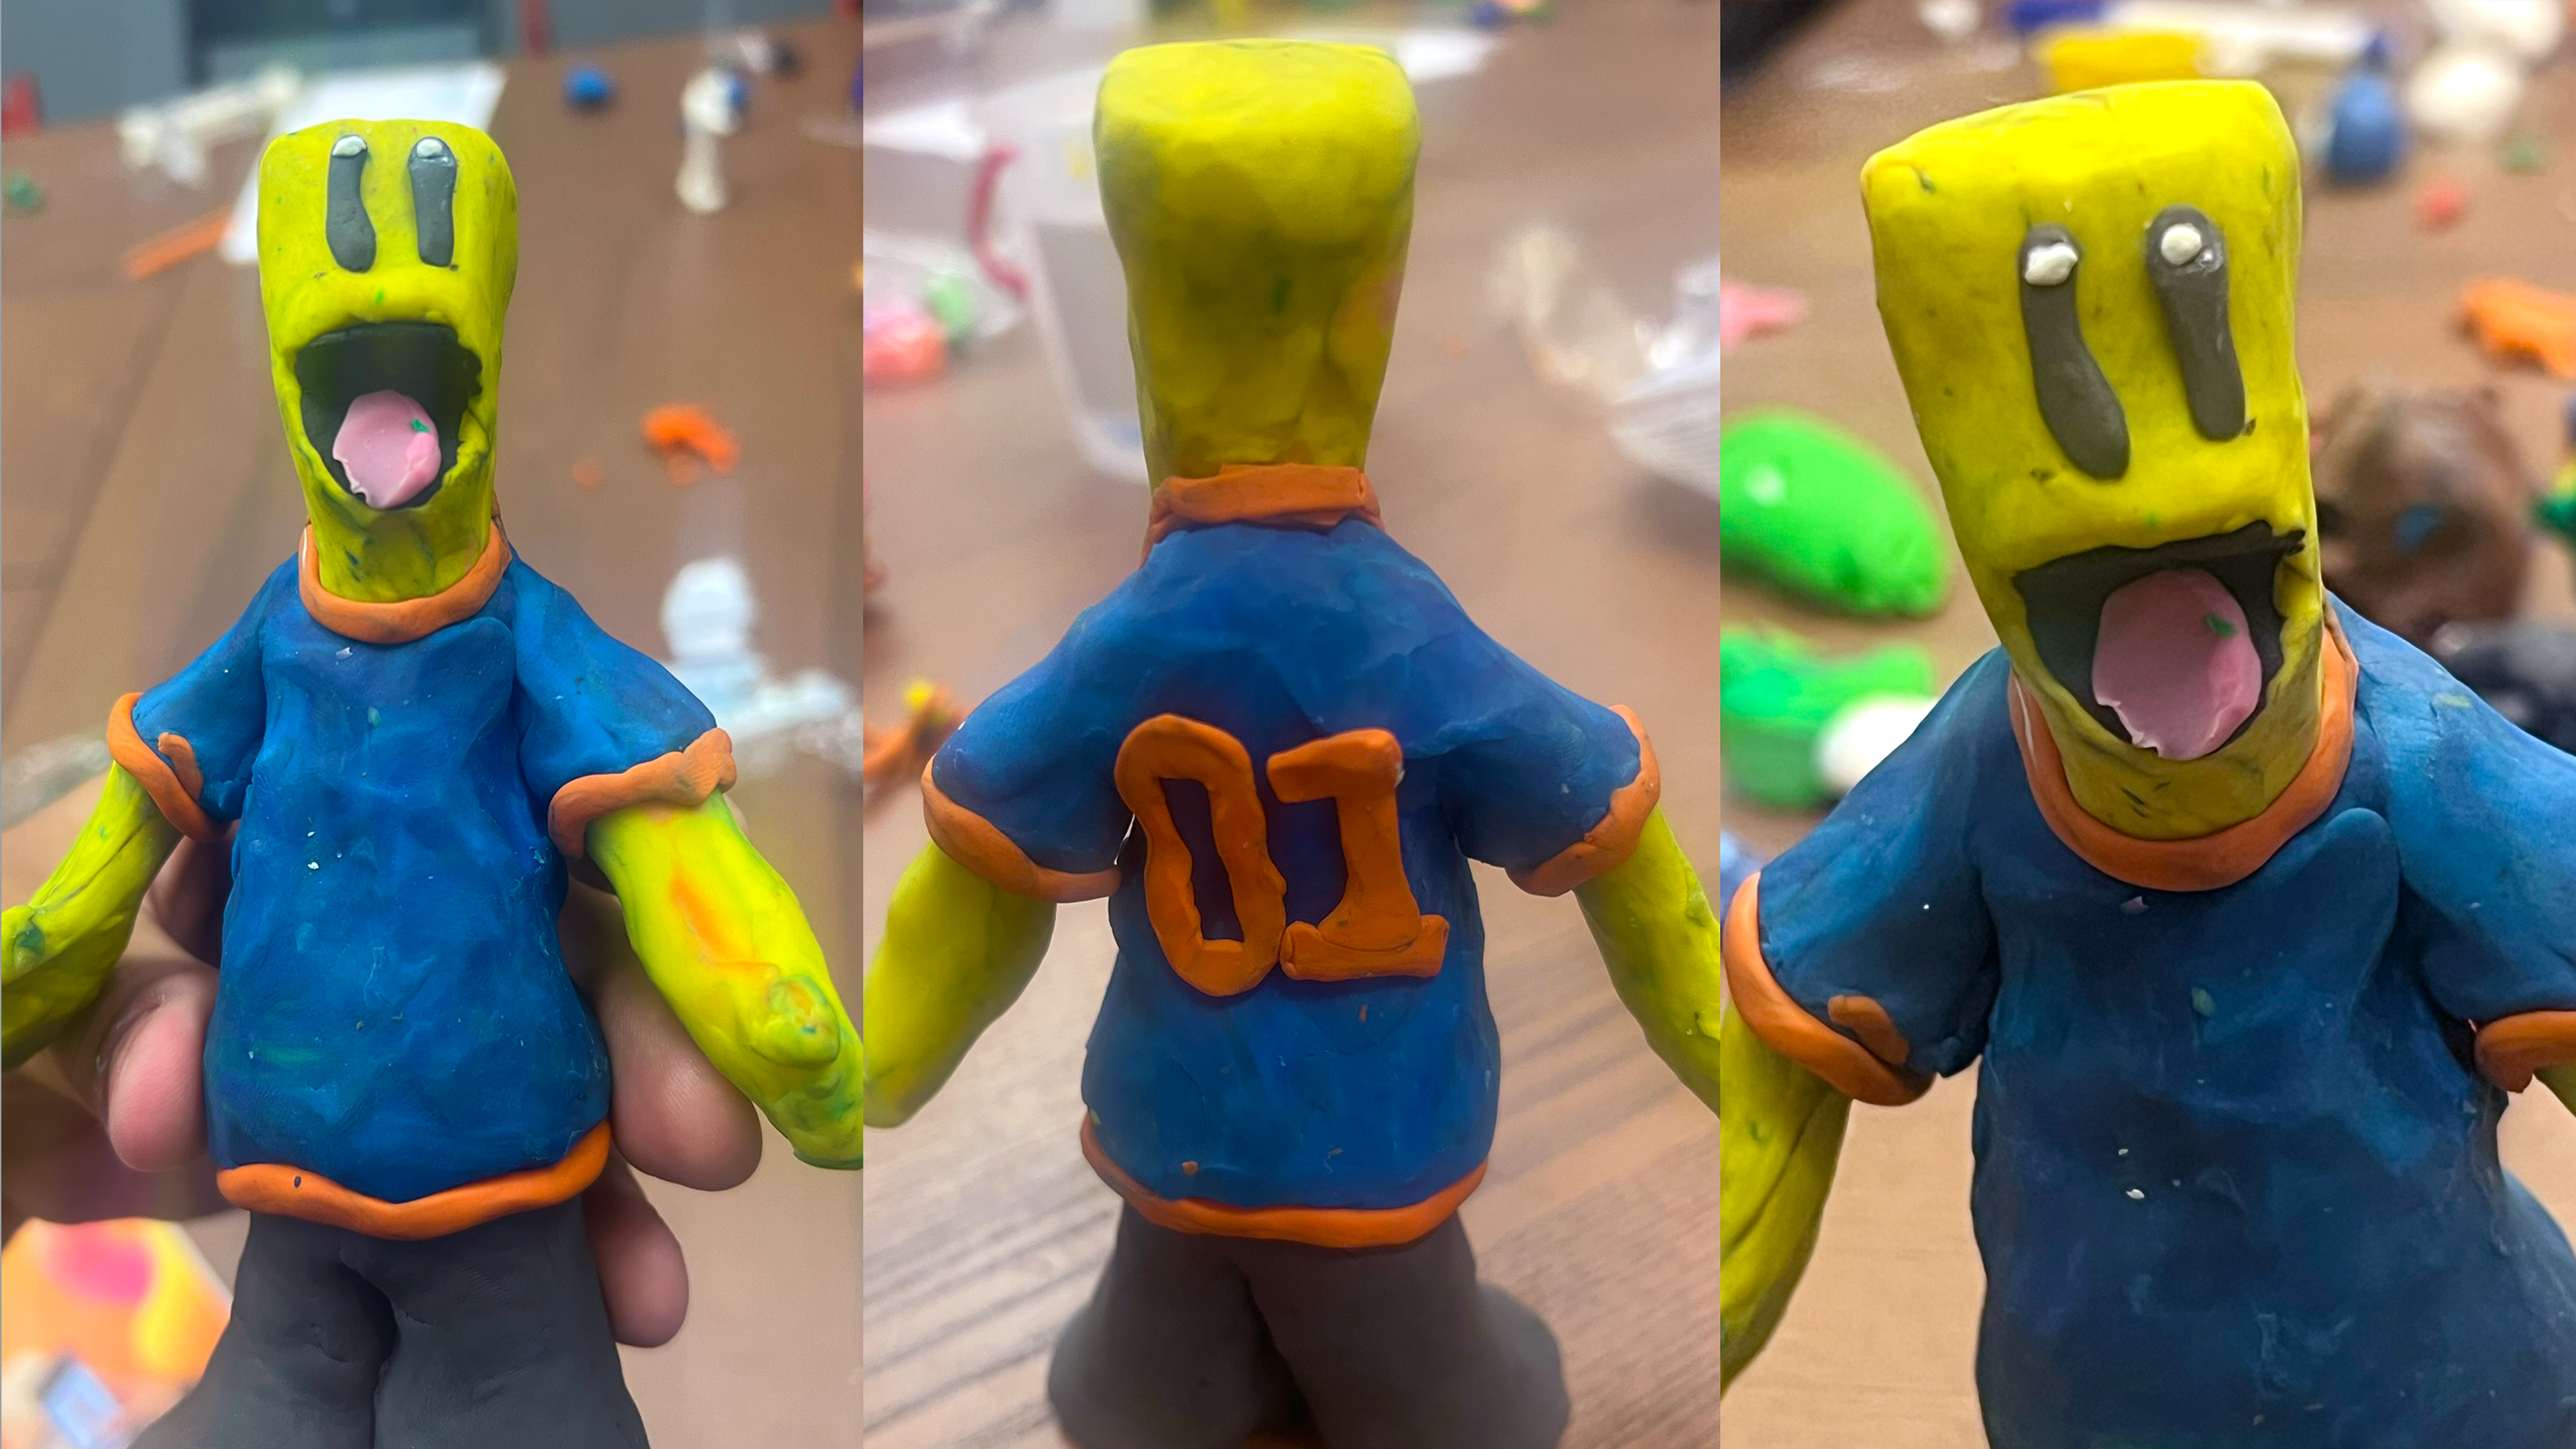
Clay
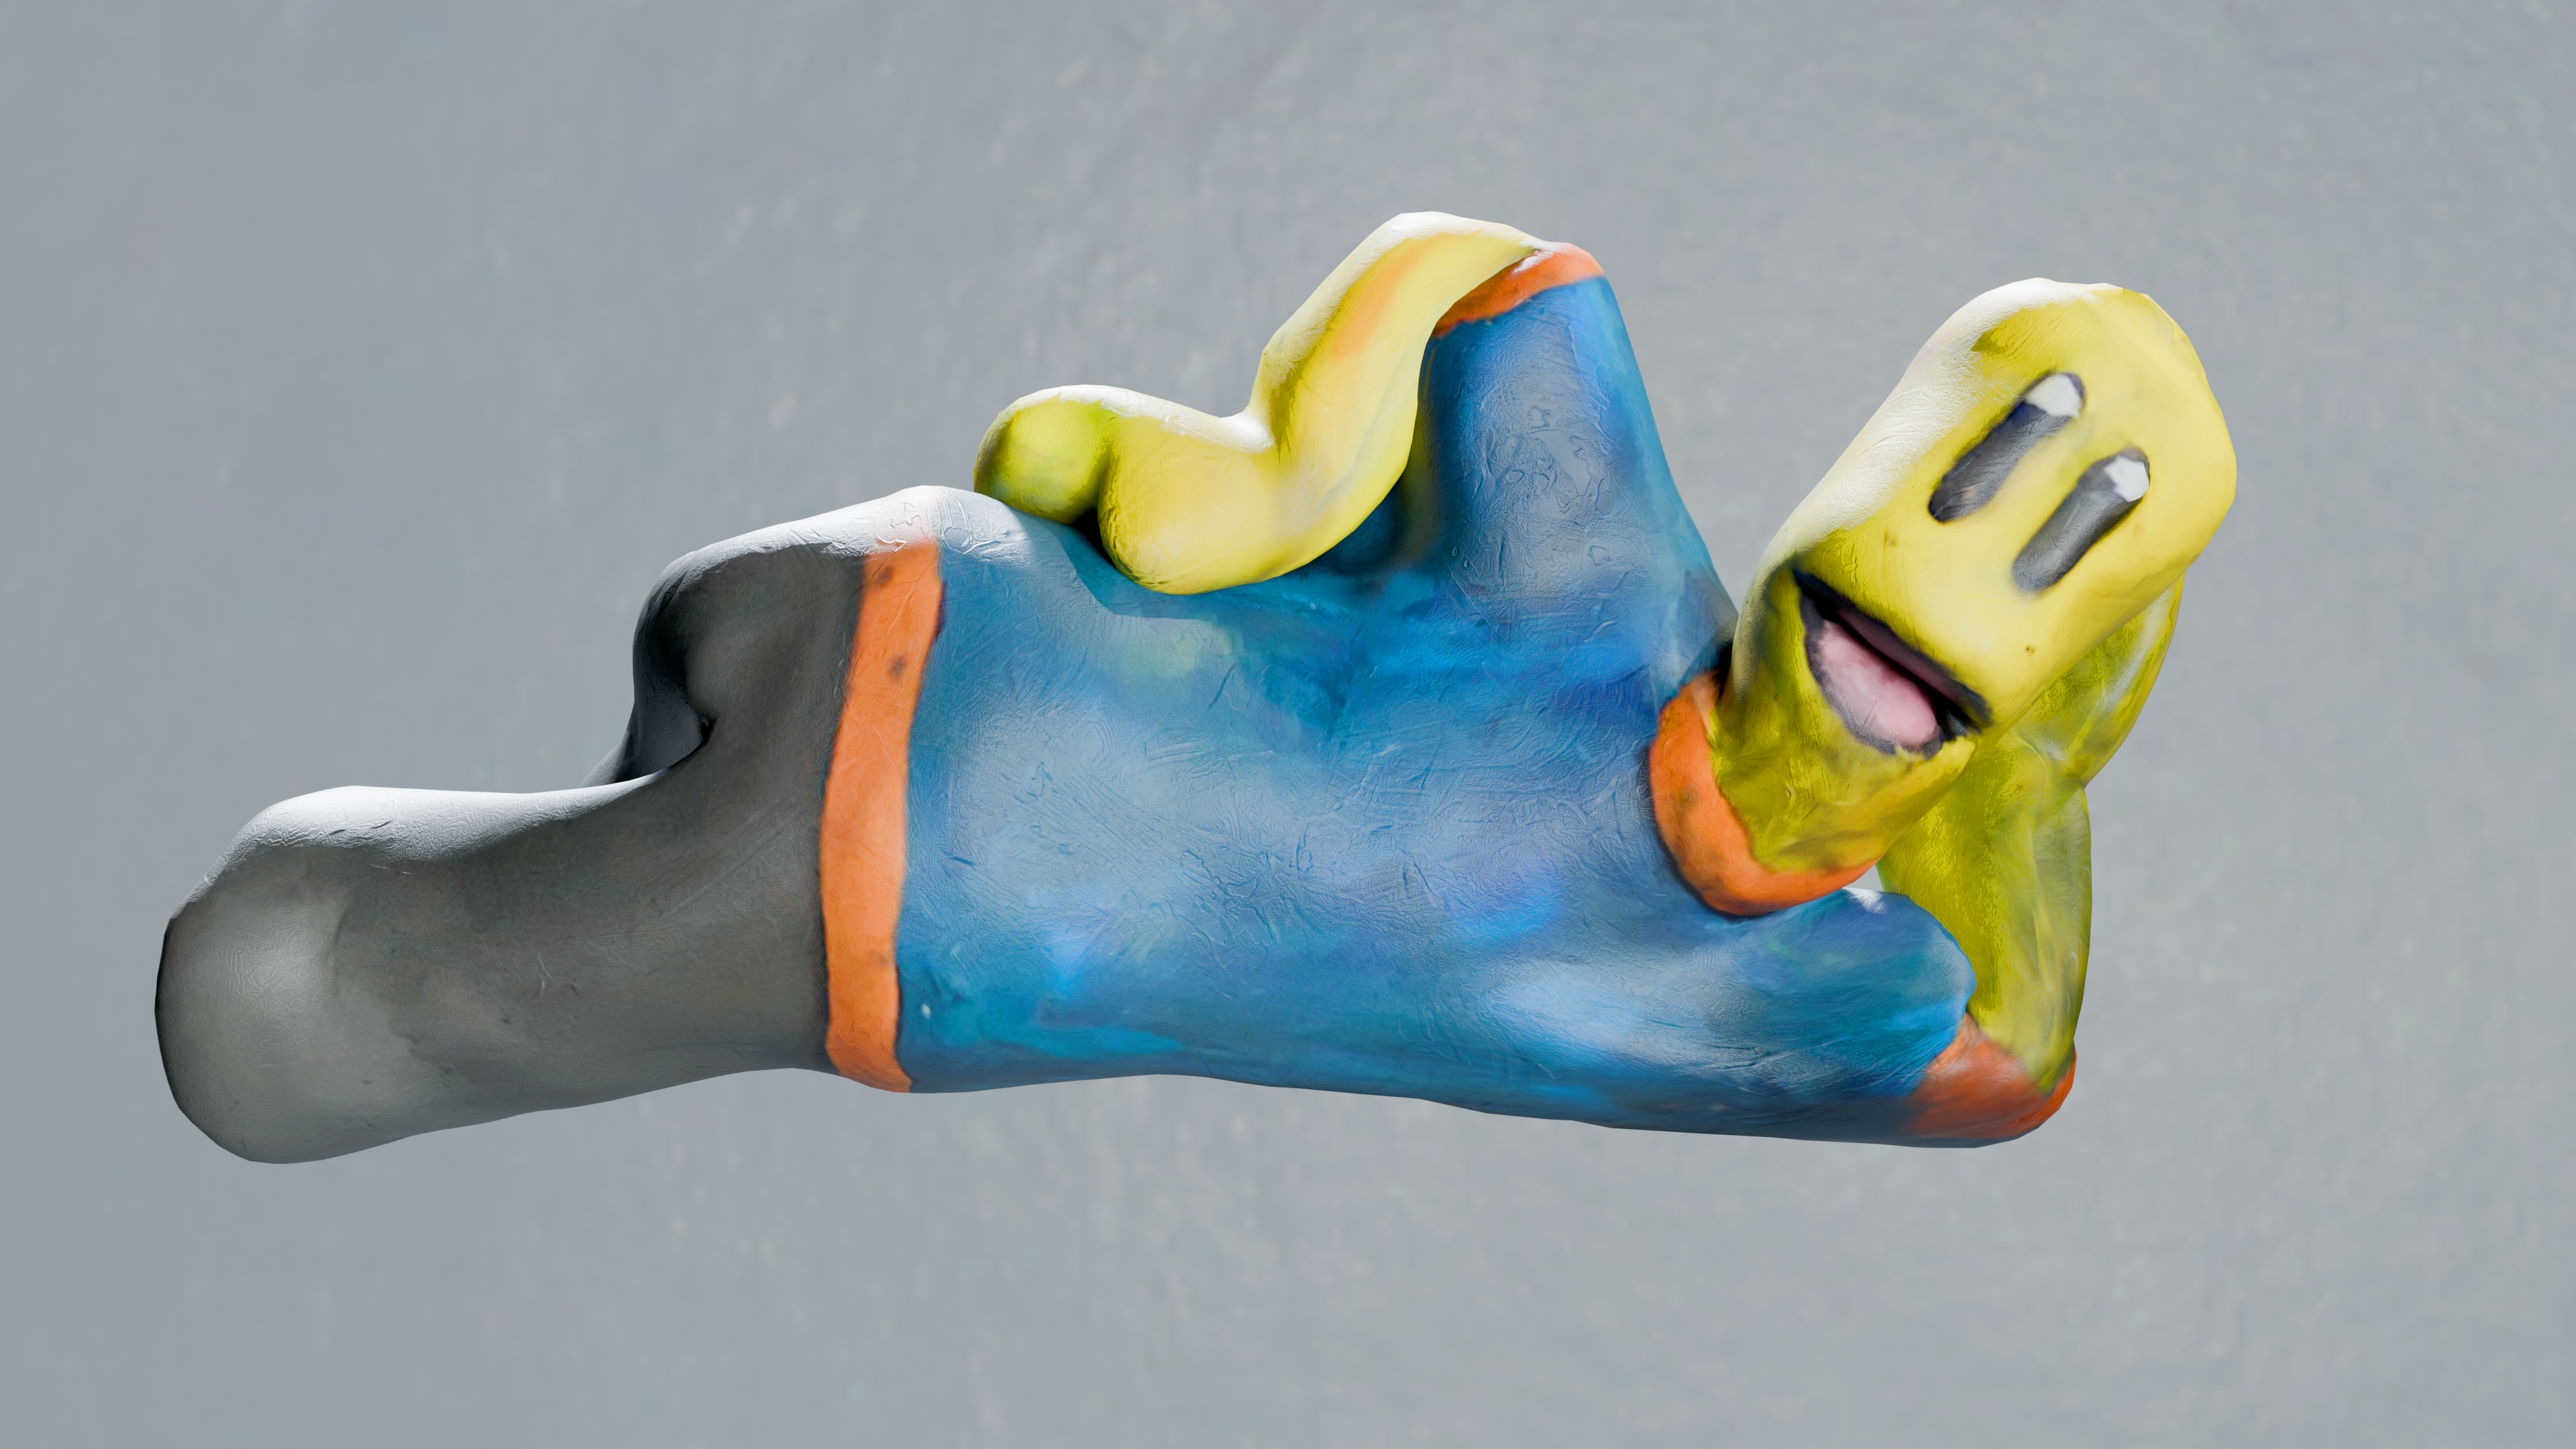
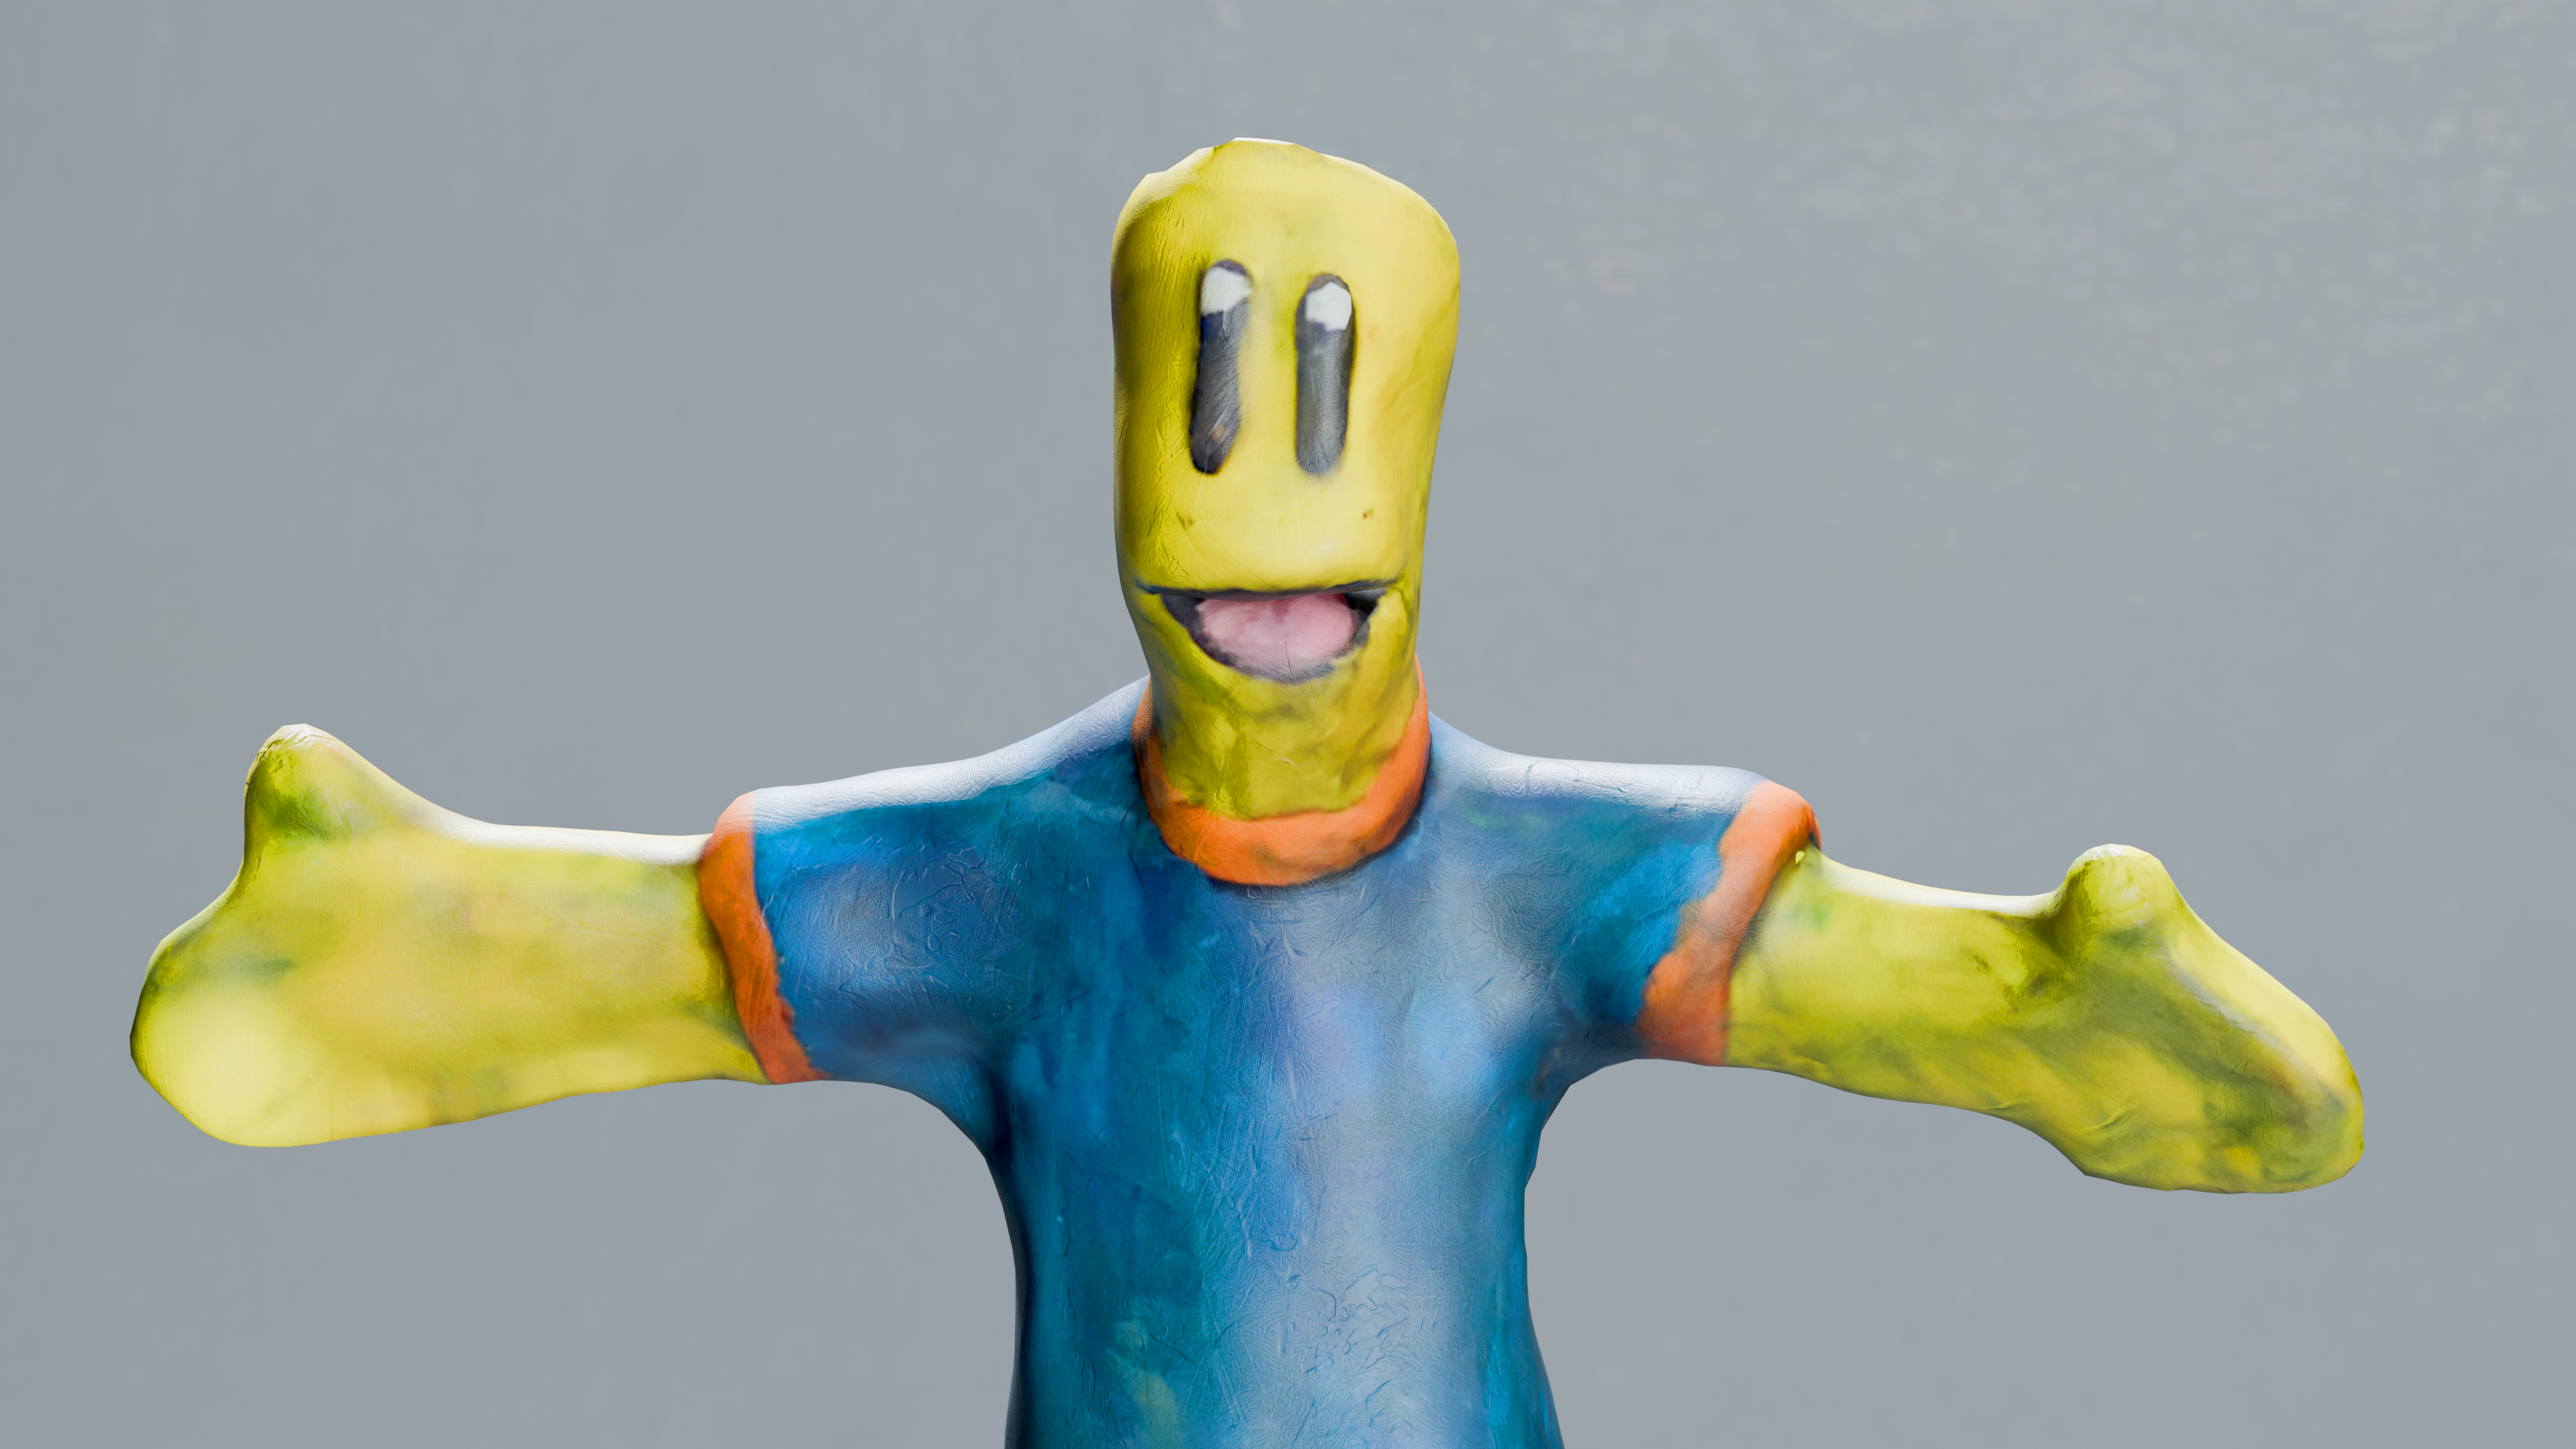
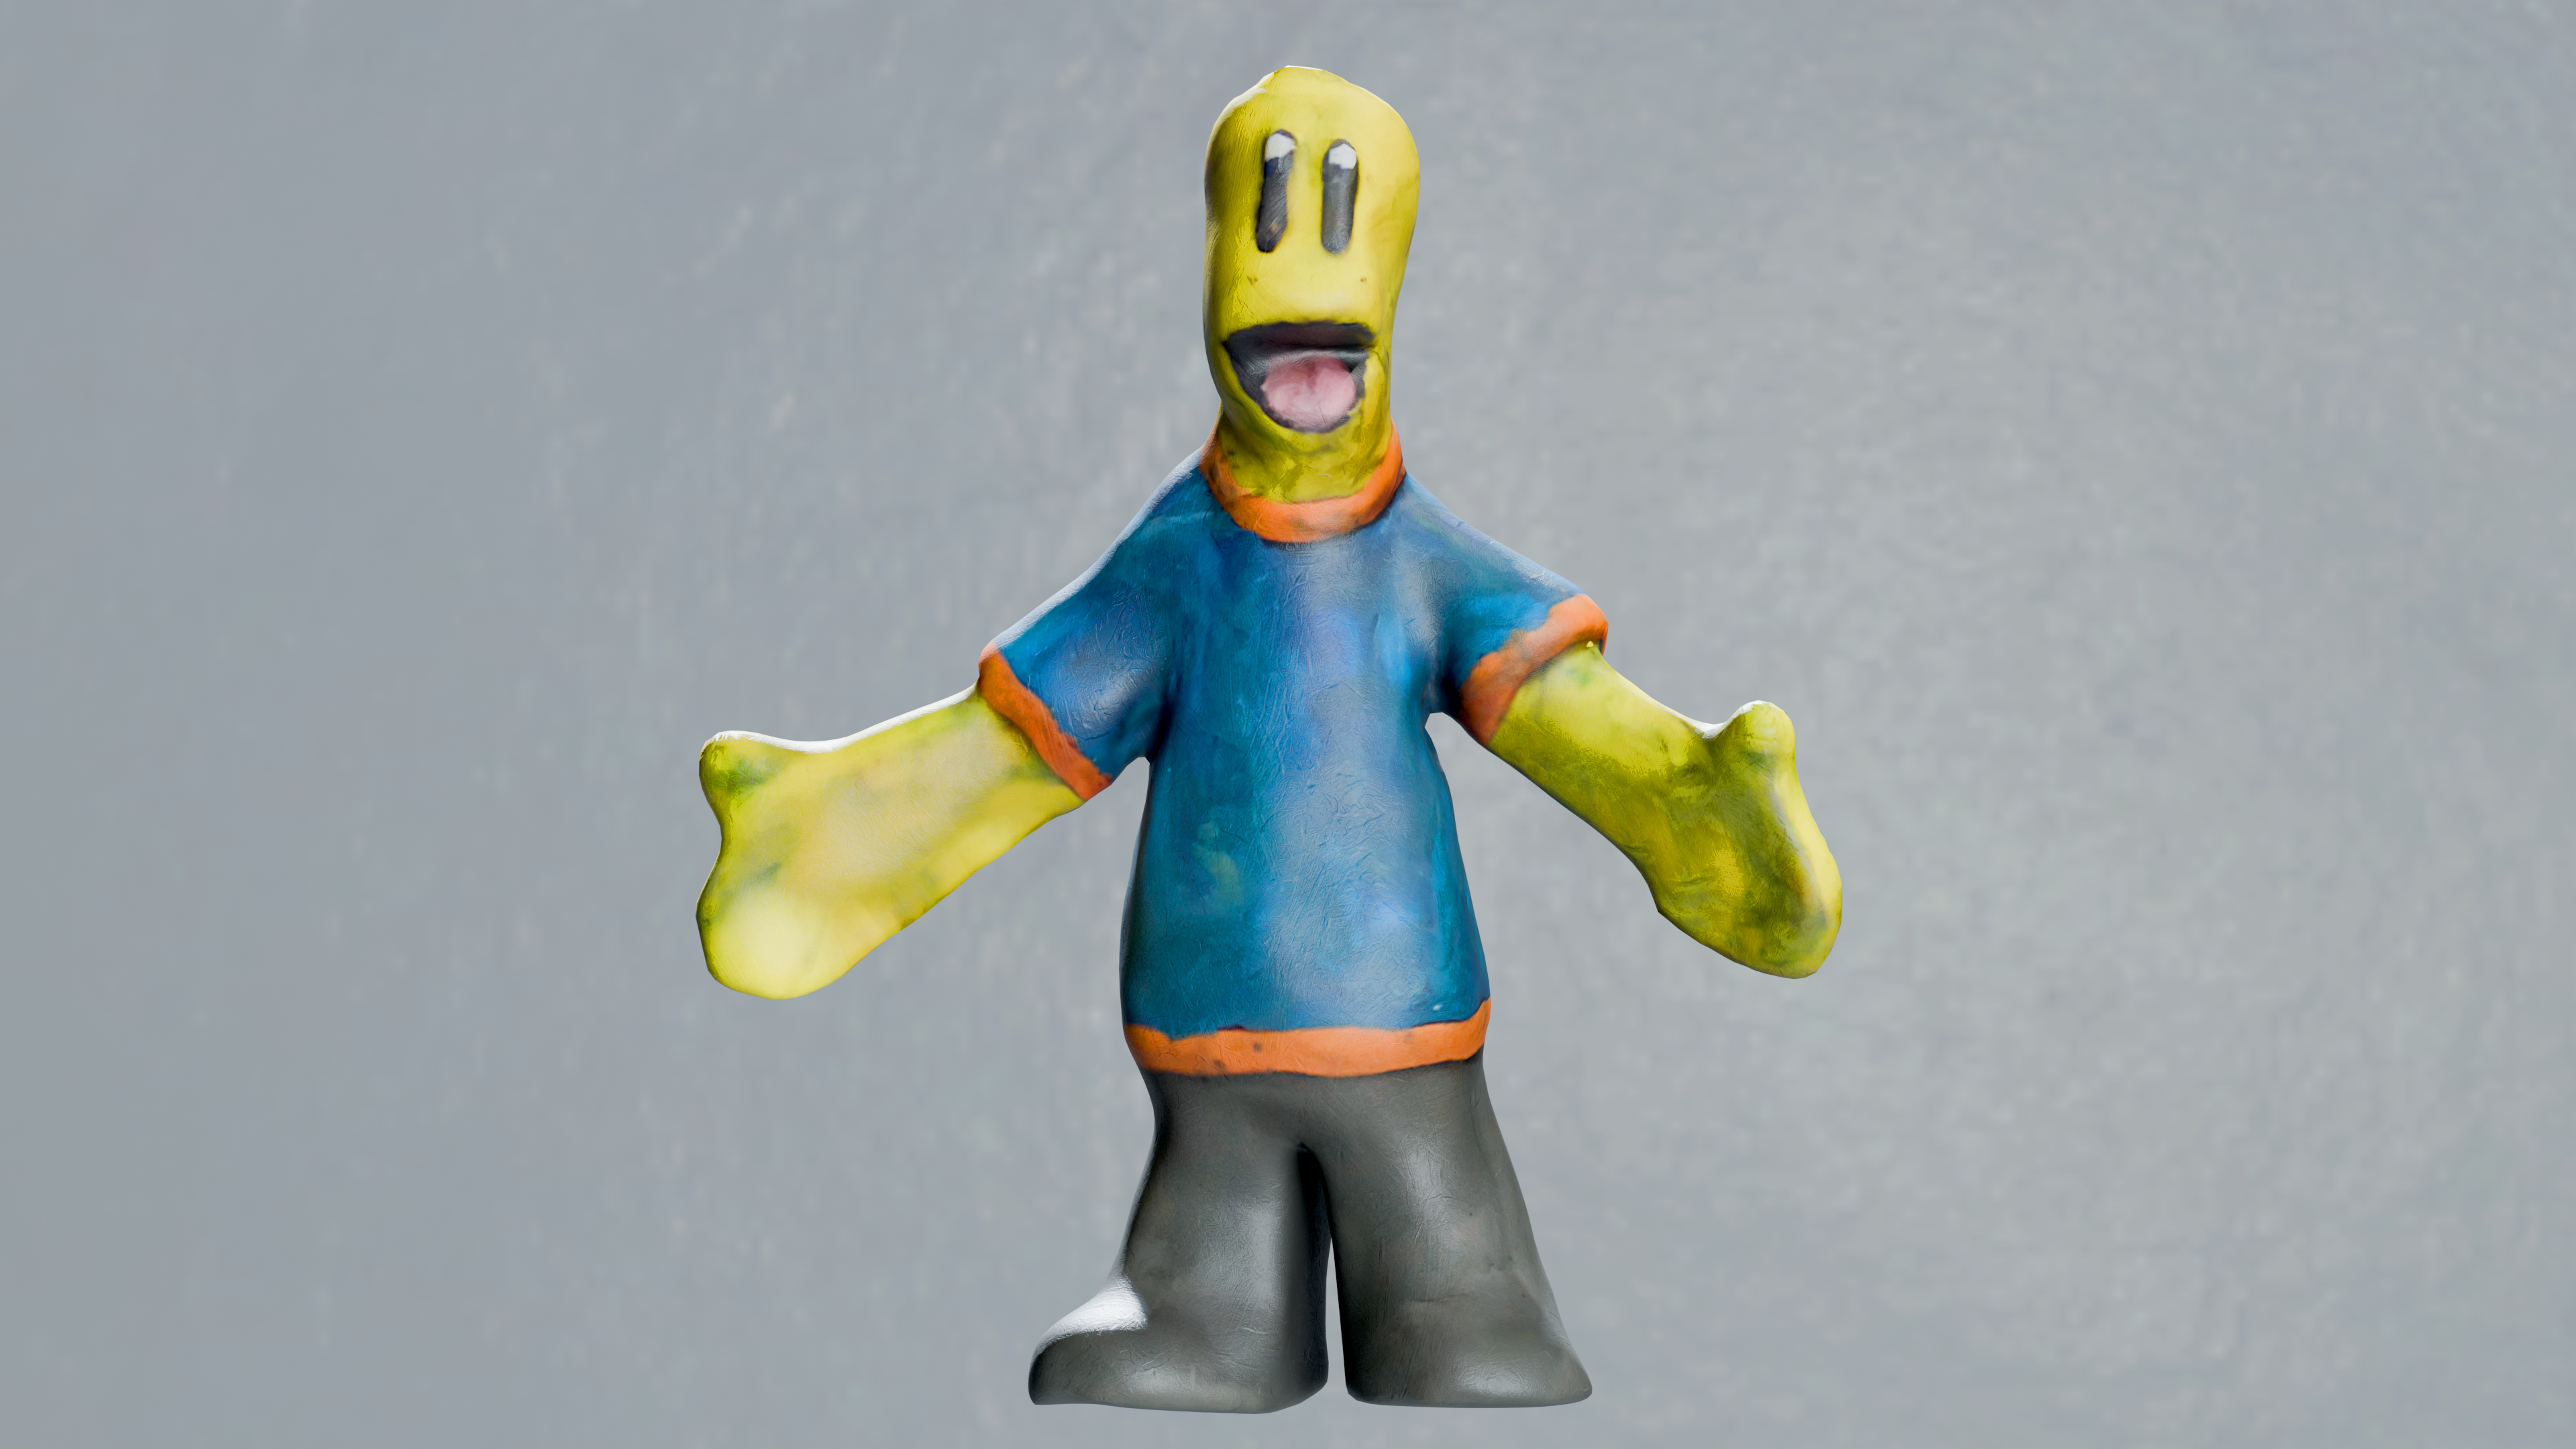
I sculpted this character the traditional way with clay and sticks. Using my Phone and the Polycam app, I photo scanned the character digitising it into a 3D model.
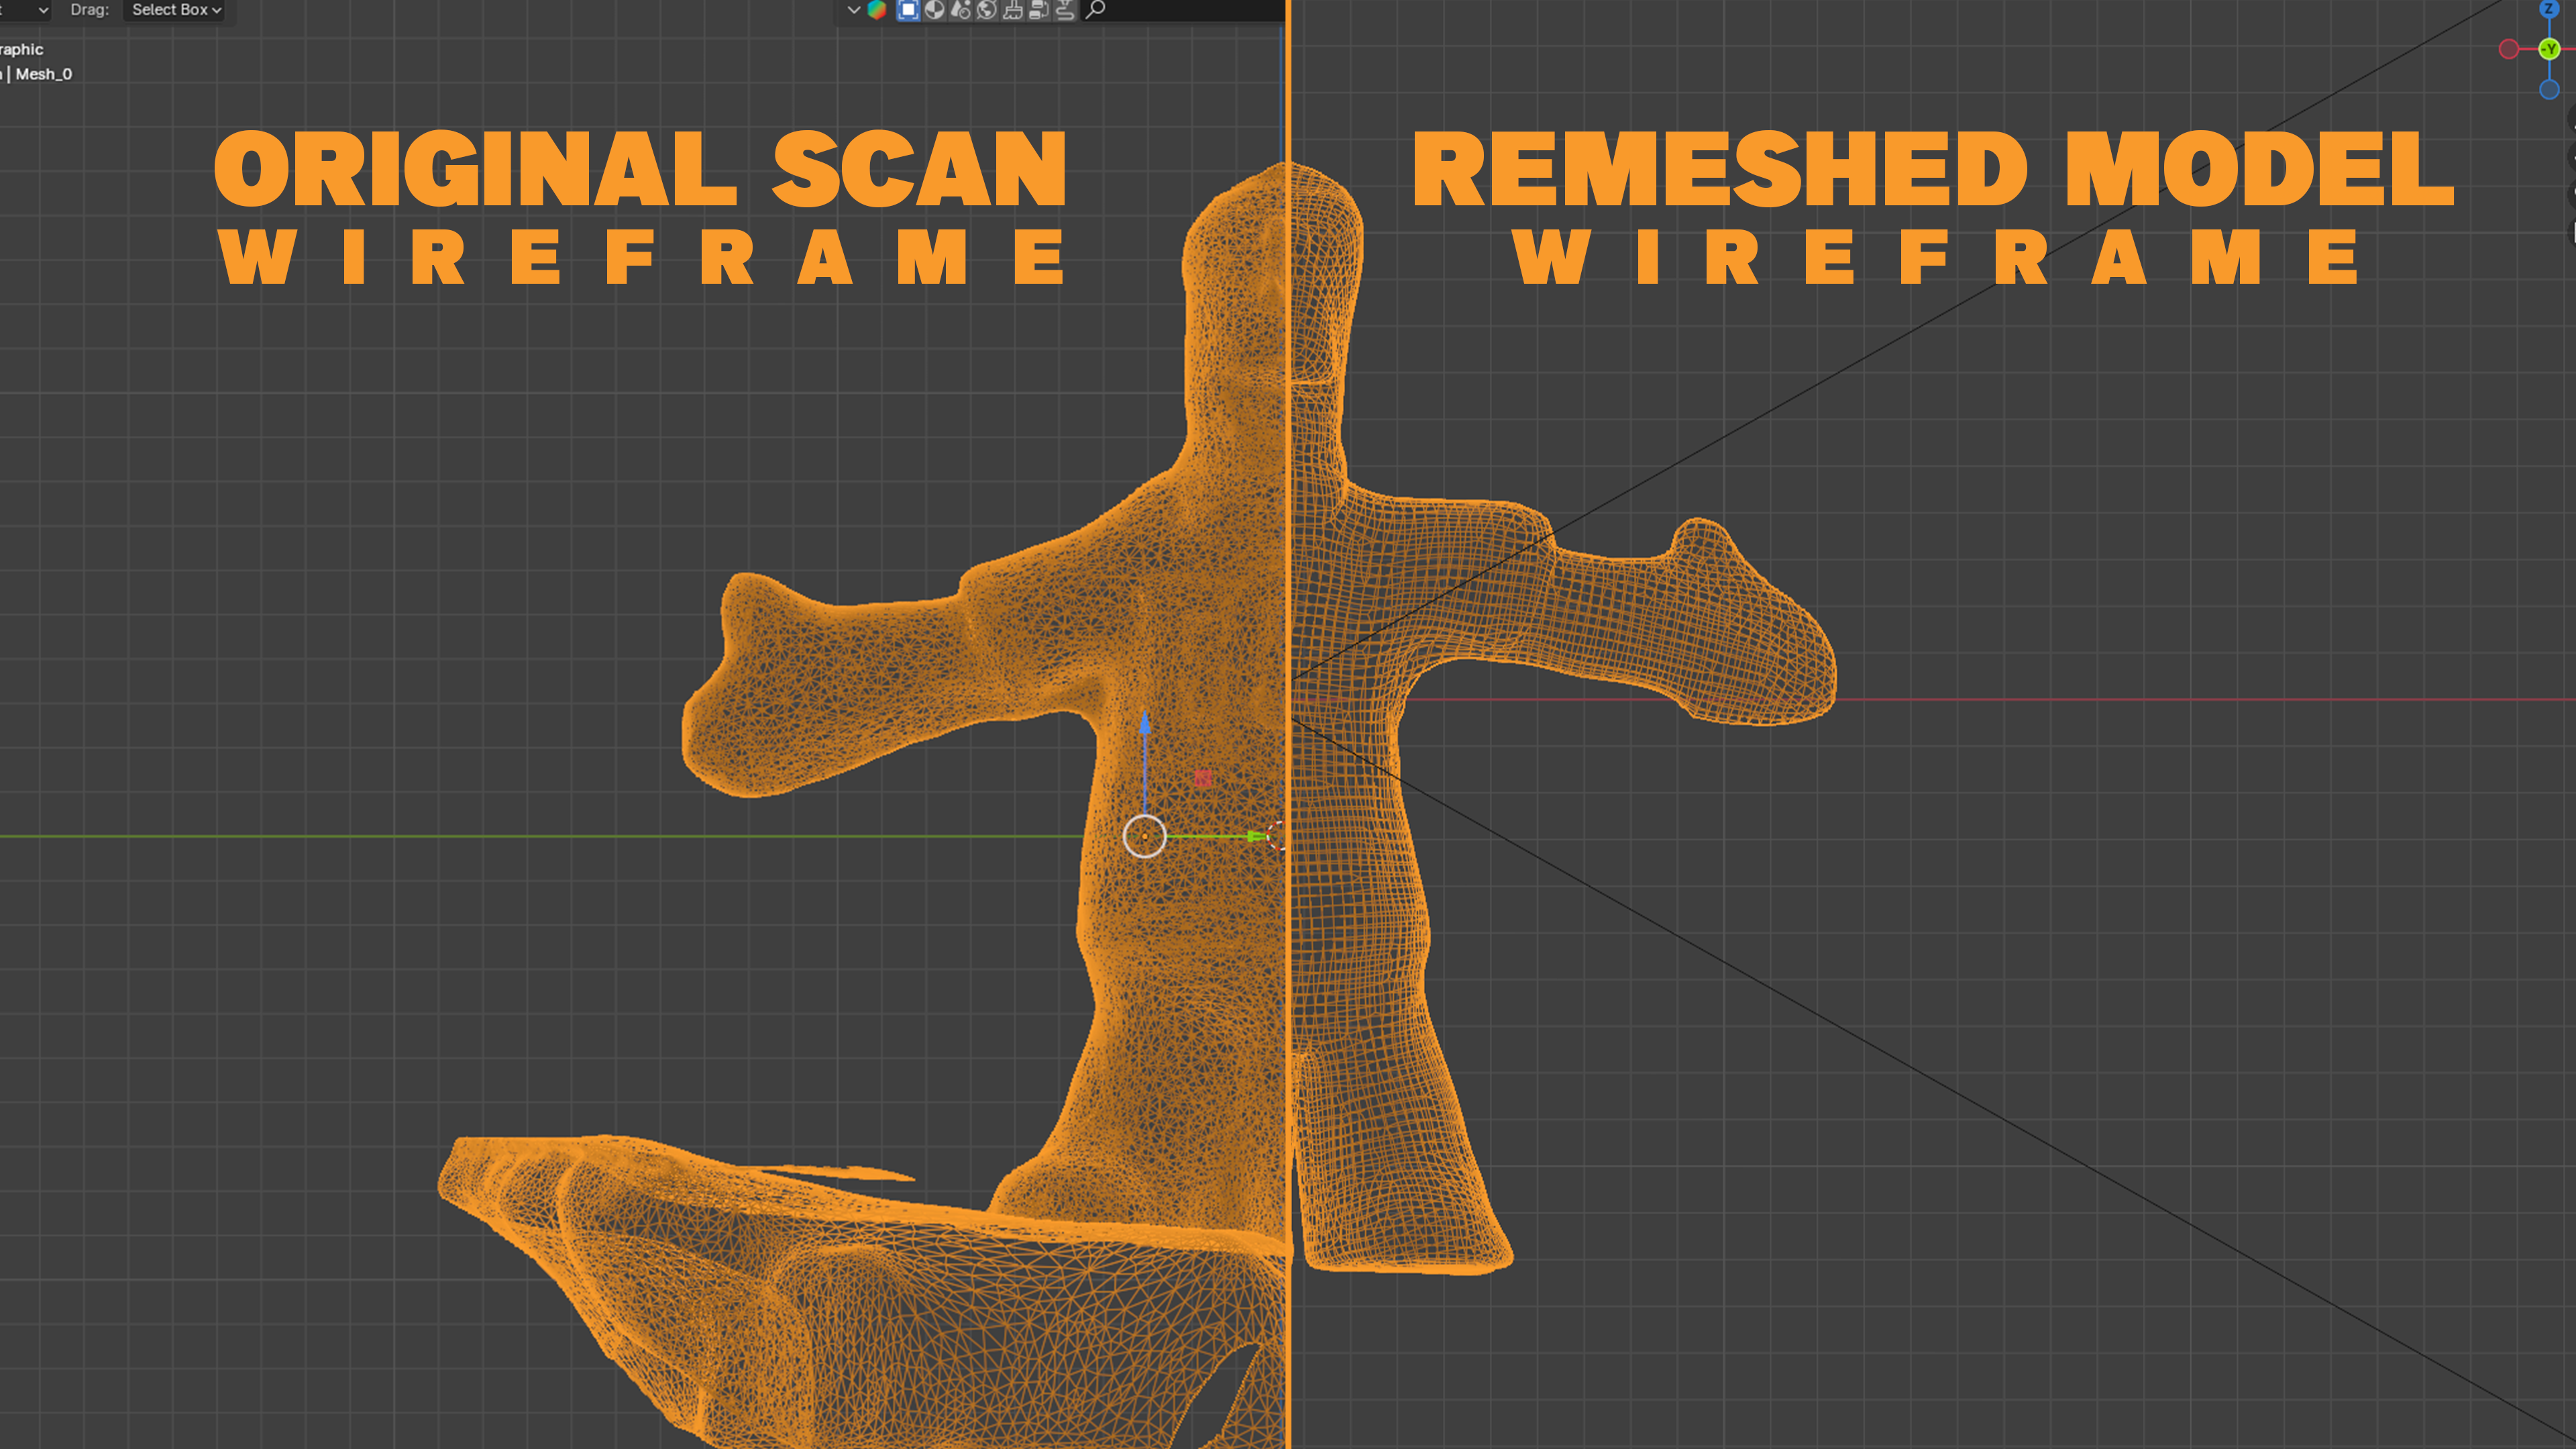
Photo scans often have complex geometry and imperfections, for example my scan had conjoined legs. These issues must be address before moving on, and so I separated the legs in Blender and used instant meshes to simplify the geometry.
The resulting model will now lack textures, to add them back I added seams along the model, UV unwrapped it and then using the original model overlayed a top the new model, I baked the textures over it.
Due to some of the imperfections of the scan the textures had issues too, I took my textures into Substance and clone stamped away any errors. Also, I applied a clay texture over the model to add some of the subtle surface imperfection that weren’t captured.
Back to Blender we are now on the final step, rigging. Rigging is basically adding bones and joints to in order to get the model to move, once all the bones were in the model I weight painted each bone to only effect specific areas of the model.
Gooey
To start I drew a turnaround of the character I would animation, this was to give a better idea of the volume of the character.
To animate the character we started with key poses, once I was happy with the keys we added inbetweens to create a more fluid motion.
The final digitally coloured version was created using Photoshop.

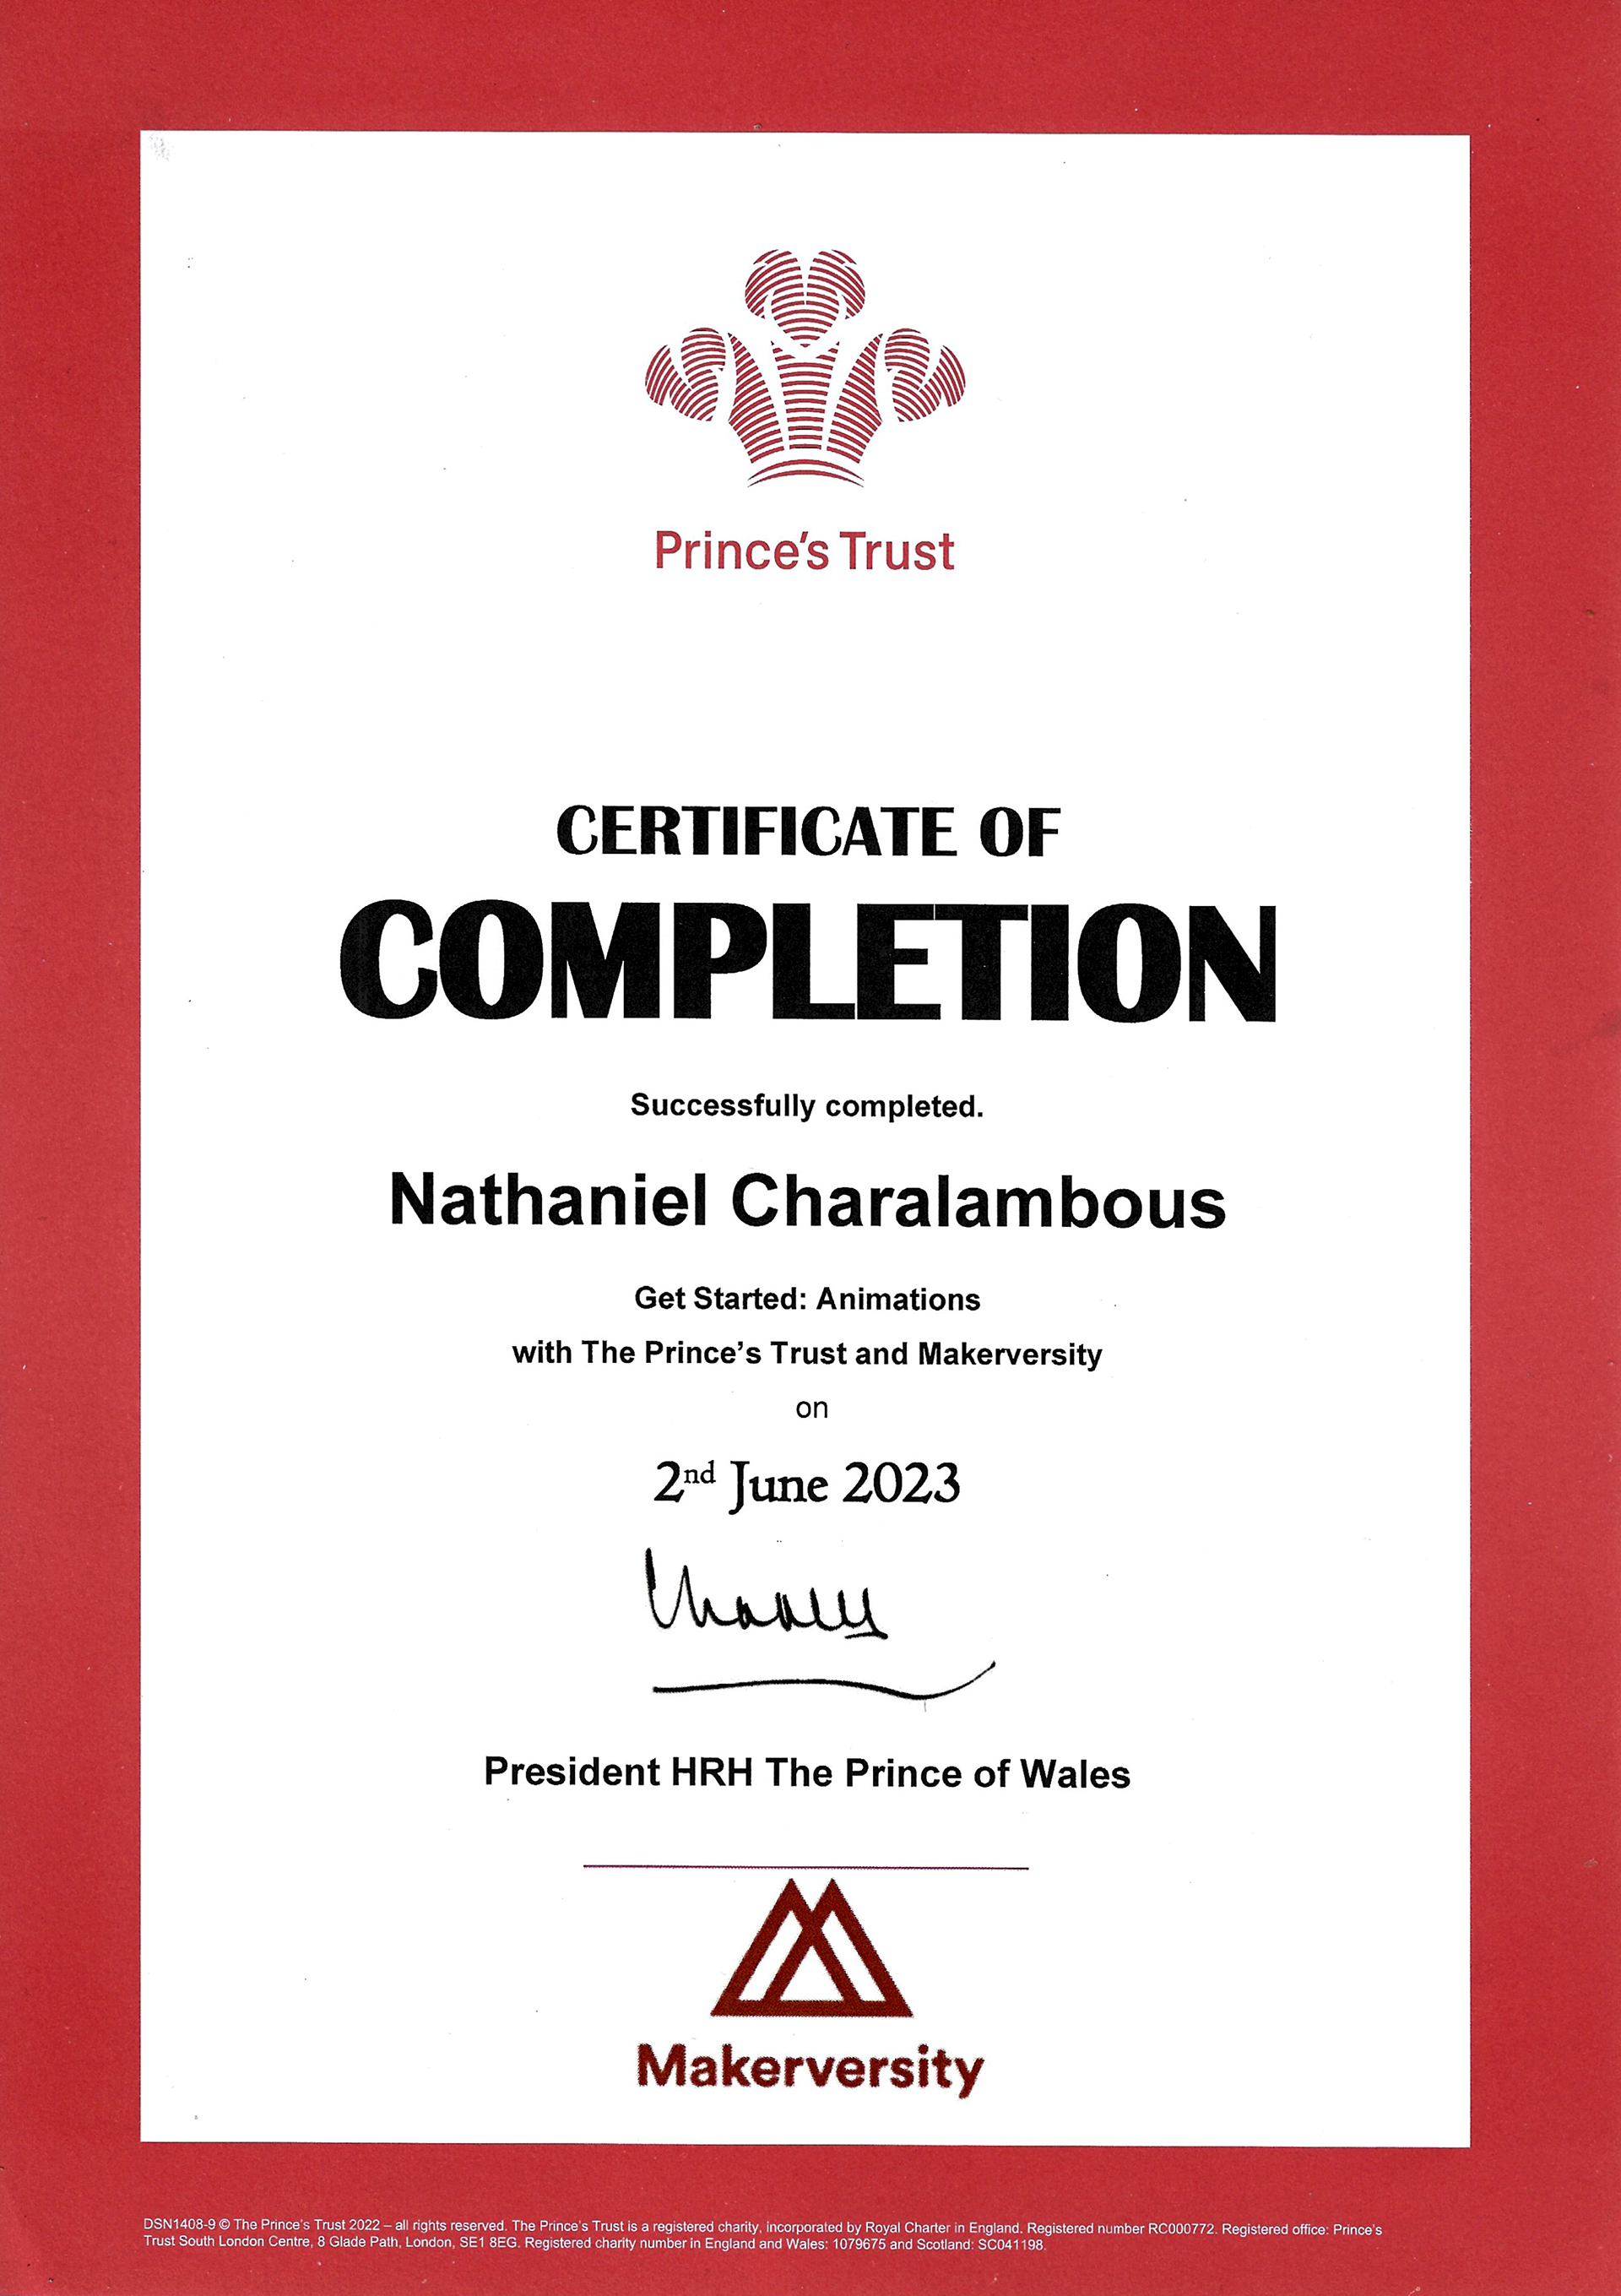
Certificate
Certificate awarded upon completing the Get Started in 3D Animation programme with the Prince's Trust.